


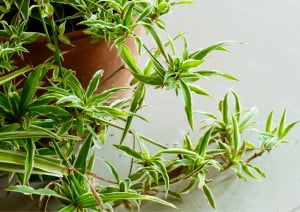
When Do Spider Plants Have Spider Babies?
Discover when and why spider plants have spider babies and troubleshoot why your plant might not yet have produced offsets.
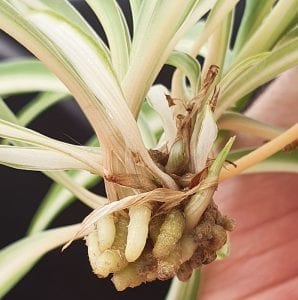
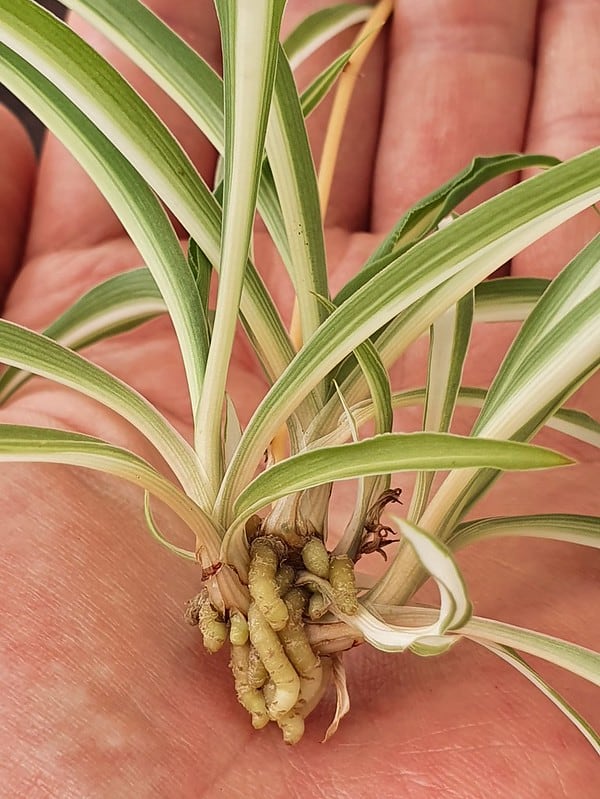
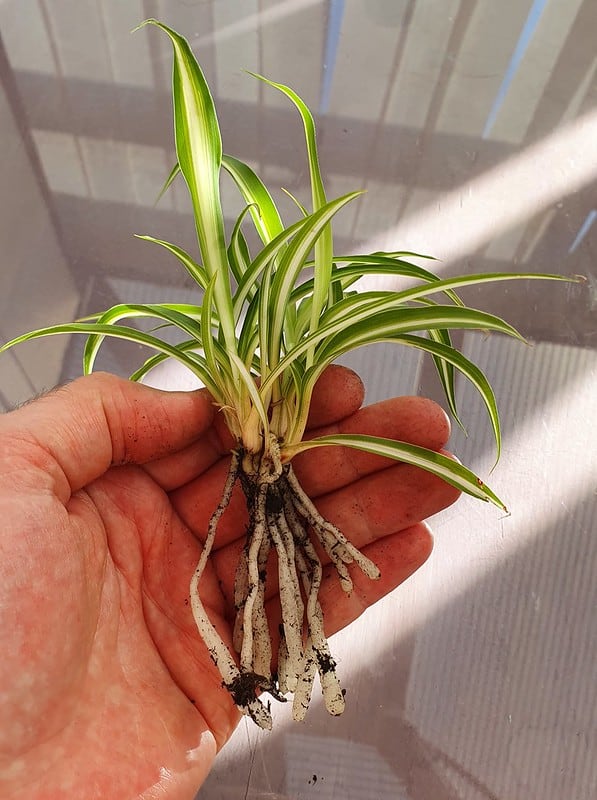
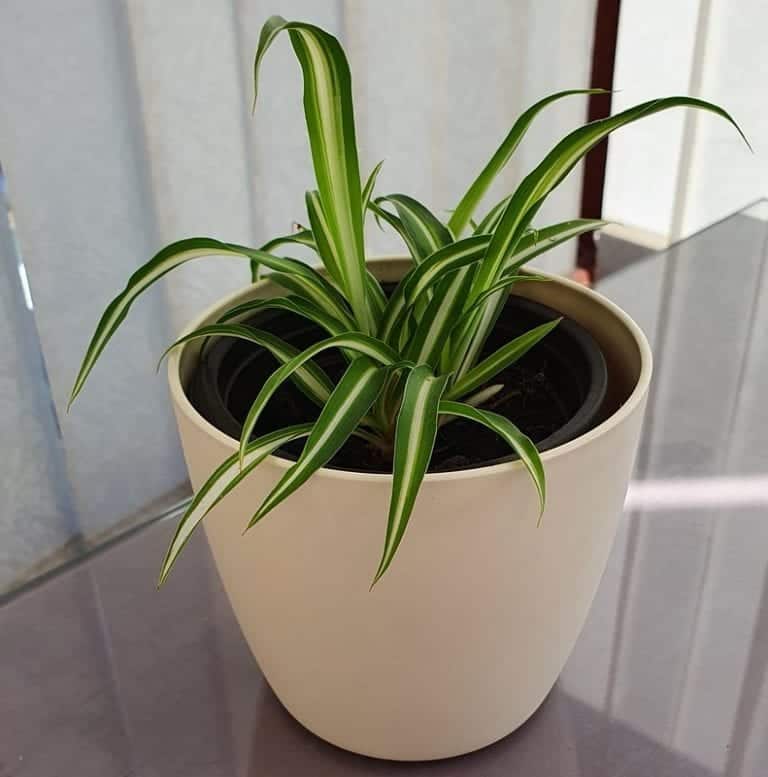
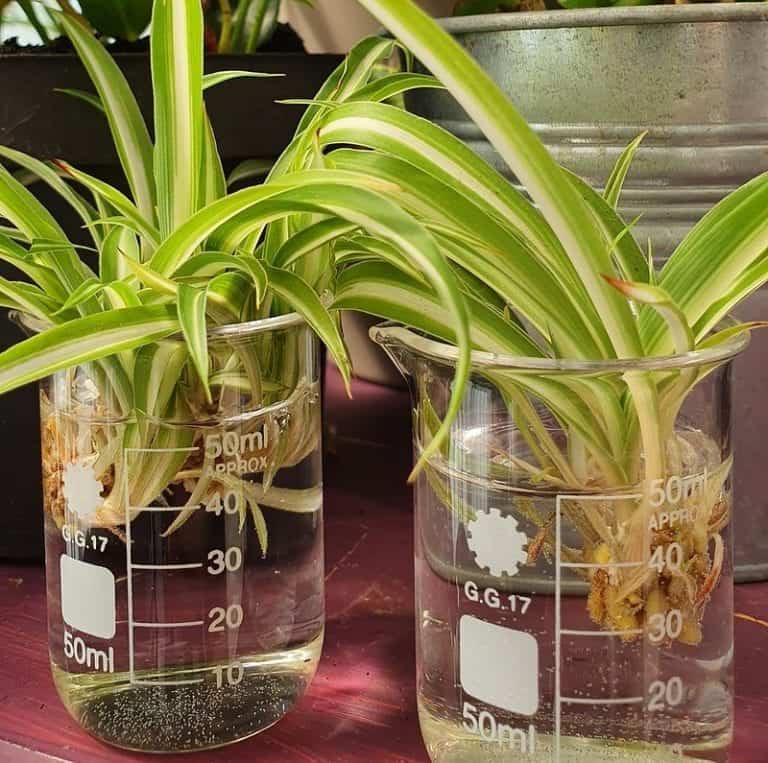
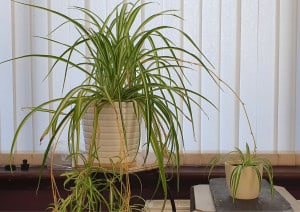
Should I Cut The Babies Off My Spider Plant?
Will spider plant babies or the mother plant suffer if spiderettes remain attached for too long? Is there any benefit to cutting them off? Answers here.